Needle Felting 101: A Step-by-Step Guide from Horn Castle Hobby House
Welcome to the Horn Castle Hobby House – a picturesque paradise for needle felting enthusiasts! Here, you can transform mere strands of wool into creative masterpieces.
Felting needles are used to shape and mould wool fibers. Each poke interlocks the fibers and gradually forms a solid structure. It’s a fascinating process that requires patience and precision.
Whether you’re a seasoned artist or a rookie, there are activities for everyone at Horn Castle Hobby House. Attend workshops and learn the techniques to bring your imagination to life!
One amazing success story is that of Jane. She was sceptical about her artistic abilities, but after attending a workshop, she discovered her hidden talent. Now her pieces grace the shelves of art galleries.
Let your fingers dance with strands of vibrant wool as you create unique treasures. Visit Horn Castle Hobby House and embark on your own creative journey into the world of needle felting.
What is Needle Felting?
Needle felting is a crafting technique which uses a barbed needle to intertwine wool and other natural materials, forming a solid shape. It’s perfect for creating intricate sculptures, designs, and clothing accessories.
This art involves poking the needle into the wool fibers, the barbs tangling them together. The more you poke, the firmer and denser the shape becomes. There are lots of possibilities with this craft – from animals to decorations.
The great part about needle felting is it doesn’t require expensive materials or equipment. You only need a few felting needles, some wool roving or batting, and a foam pad. It’s an affordable, easy hobby for beginners. But experienced artists can also explore it further and hone their skills.
Horn Castle Hobby House is the ideal place to do this. They have all the supplies and experienced instructors. Whether you’re a beginner wanting help, or an experienced artist looking for inspiration, Horn Castle Hobby House has everything you need.
Pro tip: When starting a needle felting project, it’s best to start small. This way, you can practice your technique and get more confident. Then, move on to bigger projects for better results!
Materials and Tools Needed
Needle felting is a popular hobby at Horn Castle Hobby House. To get started, you’ll need a few essential materials and tools. Here’s what you’ll need:
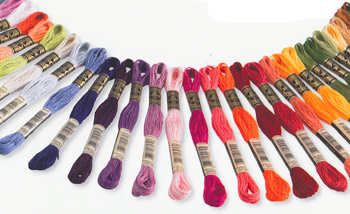
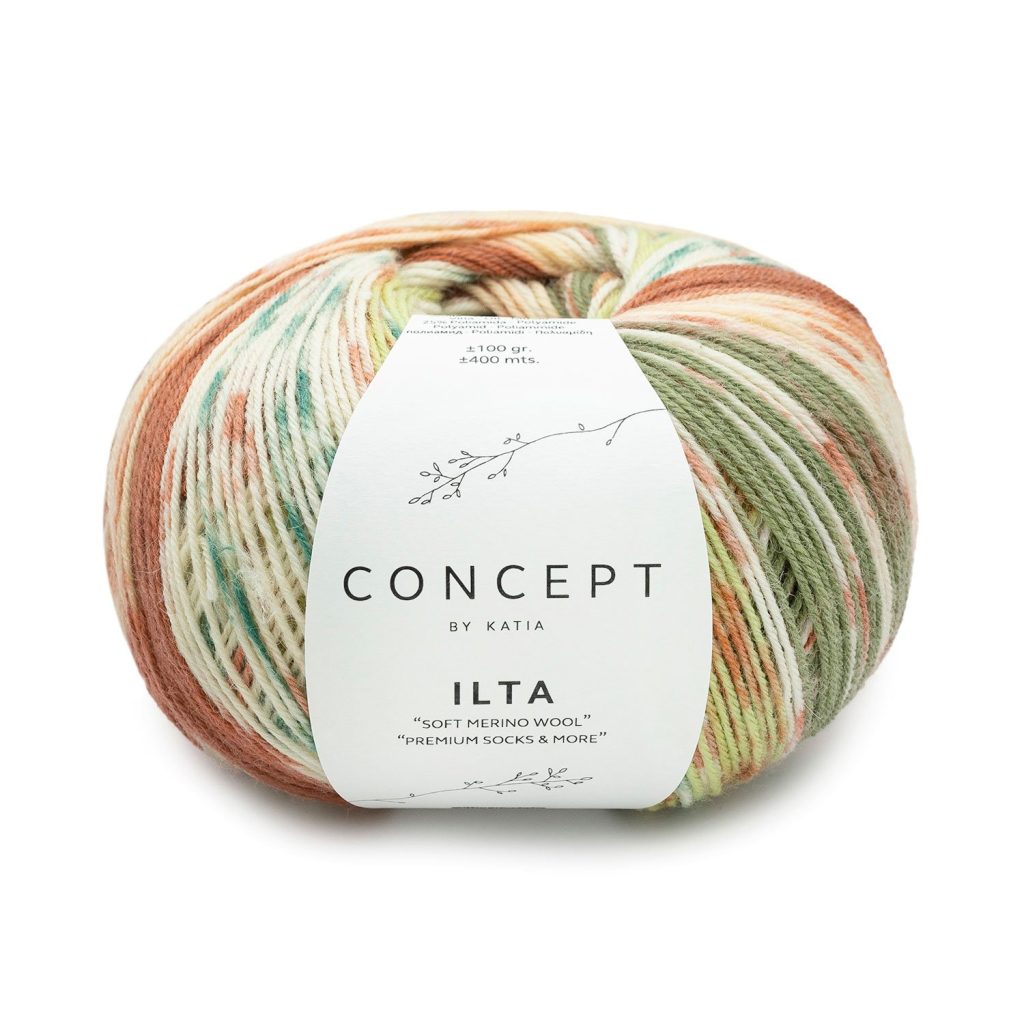
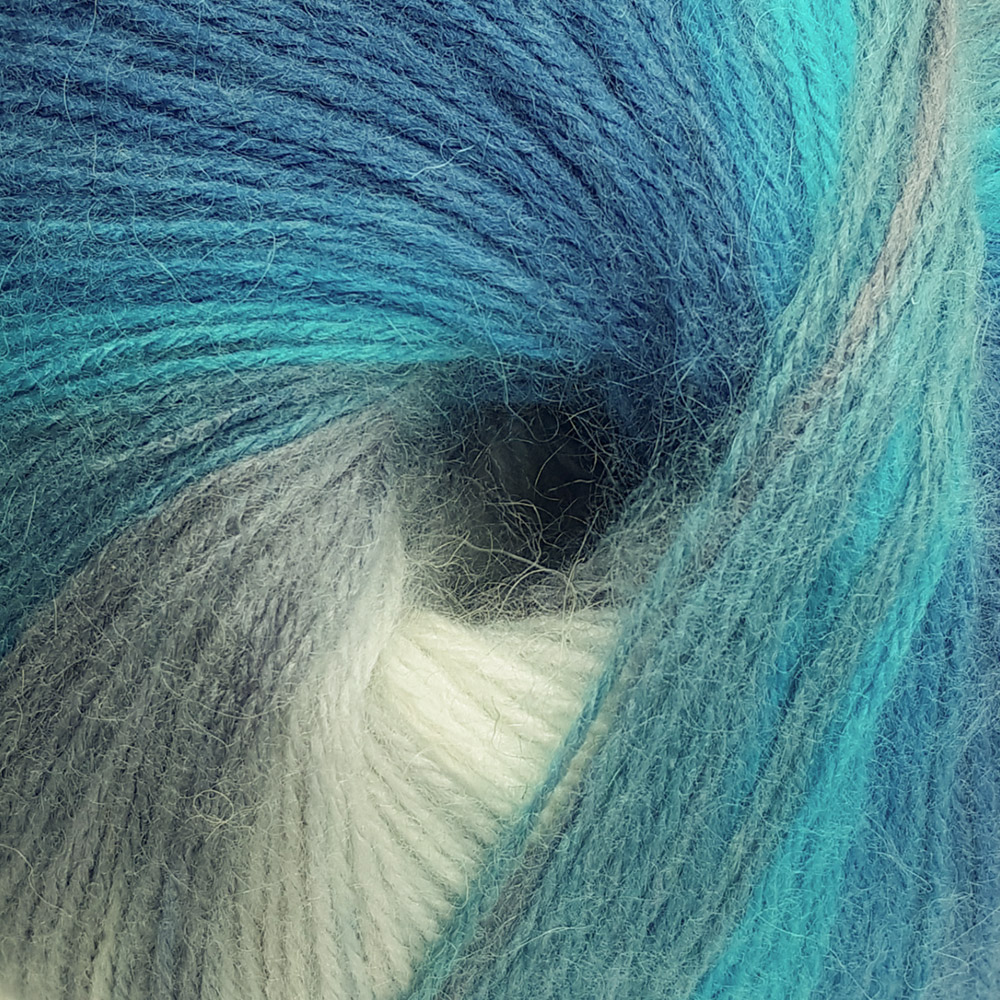
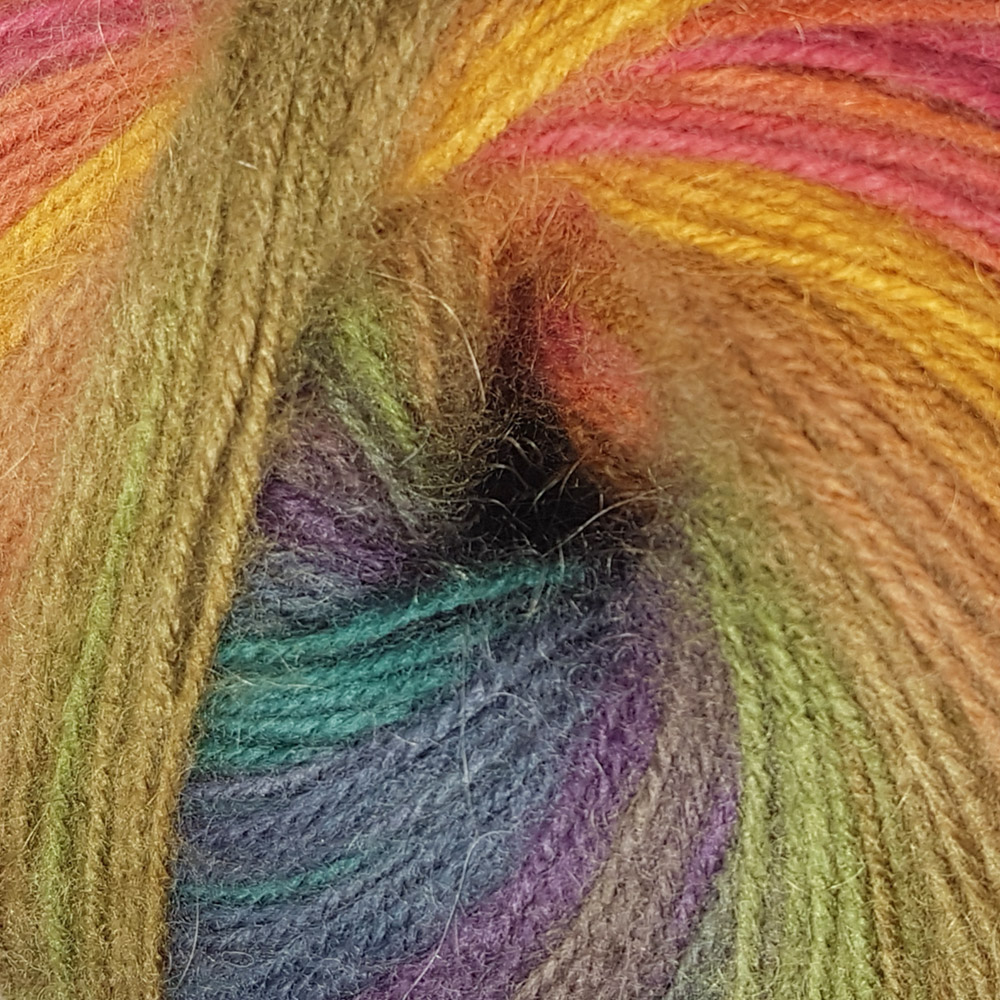
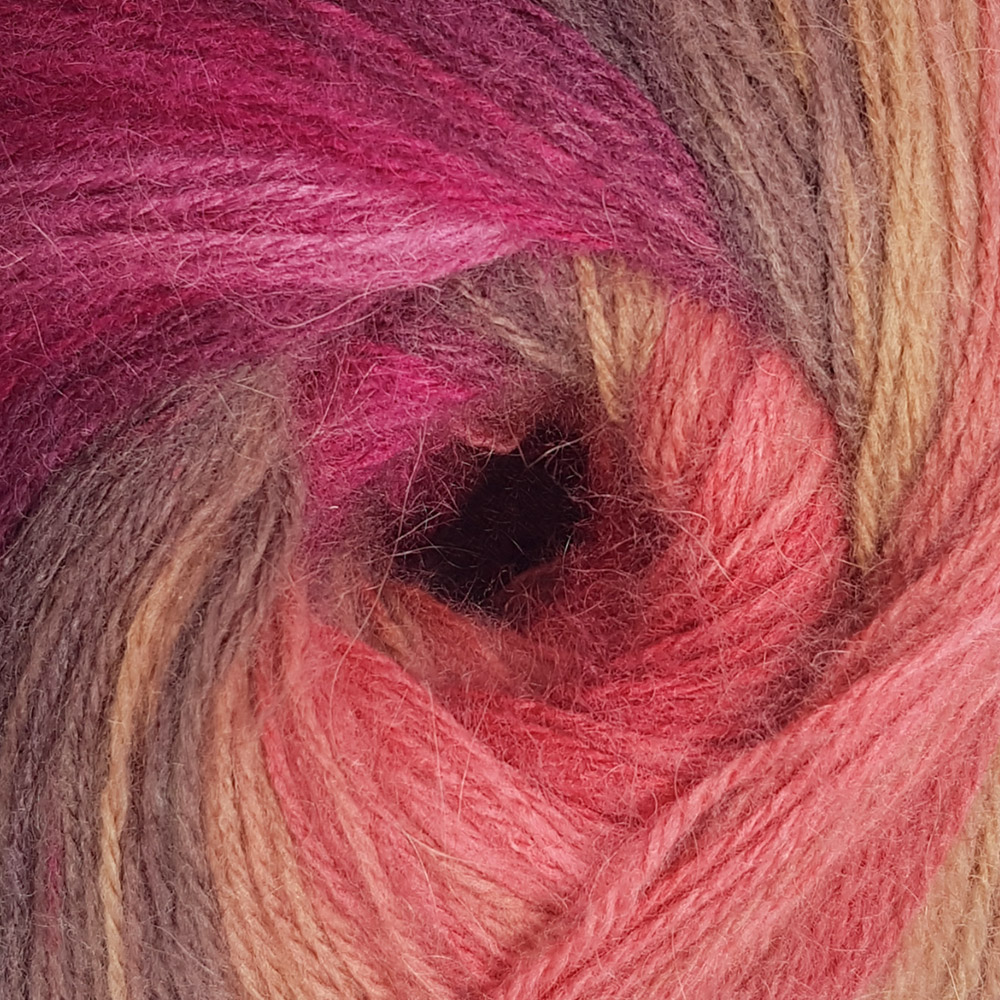
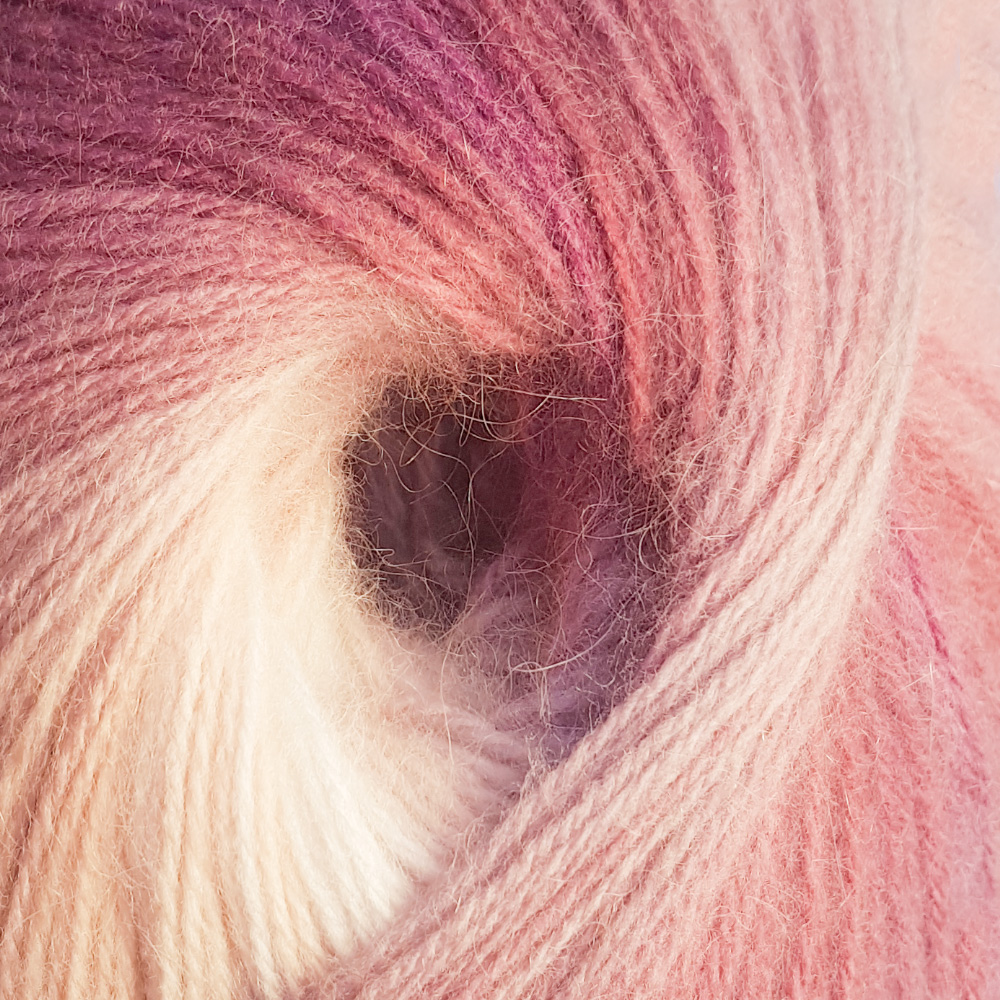
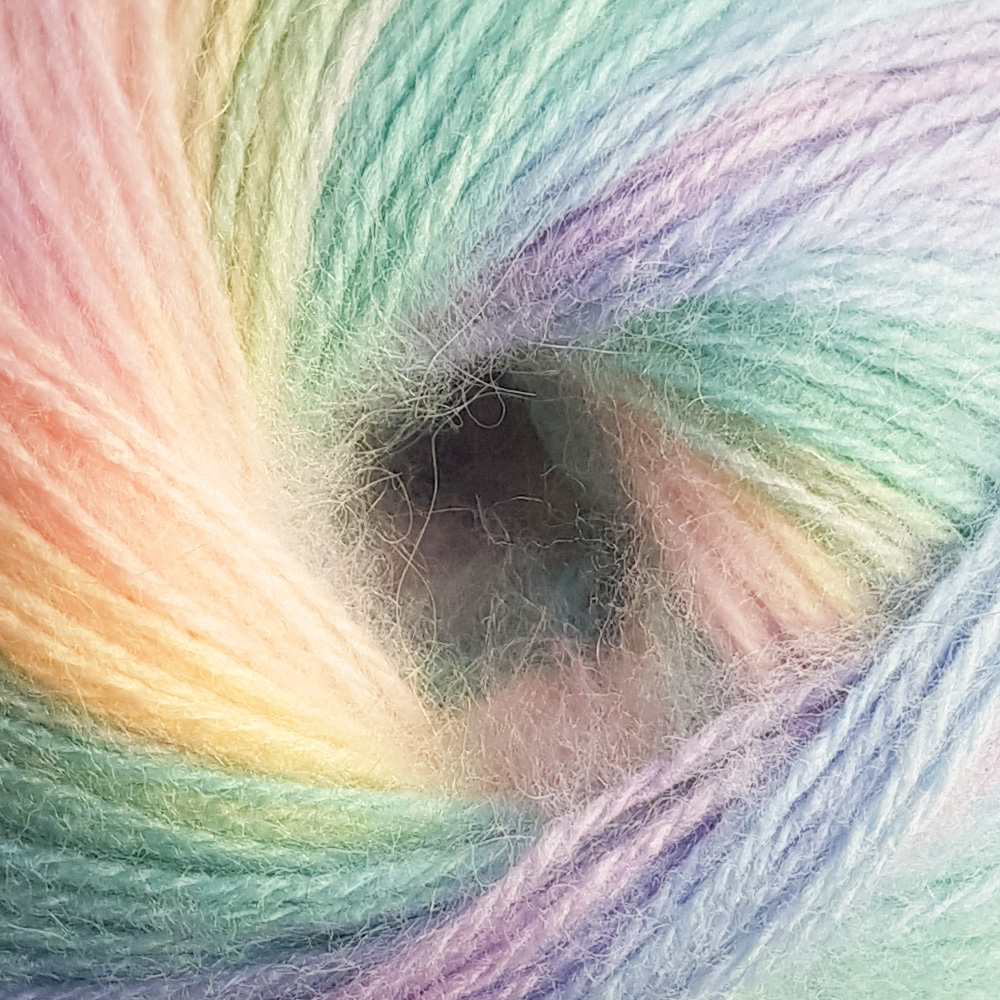
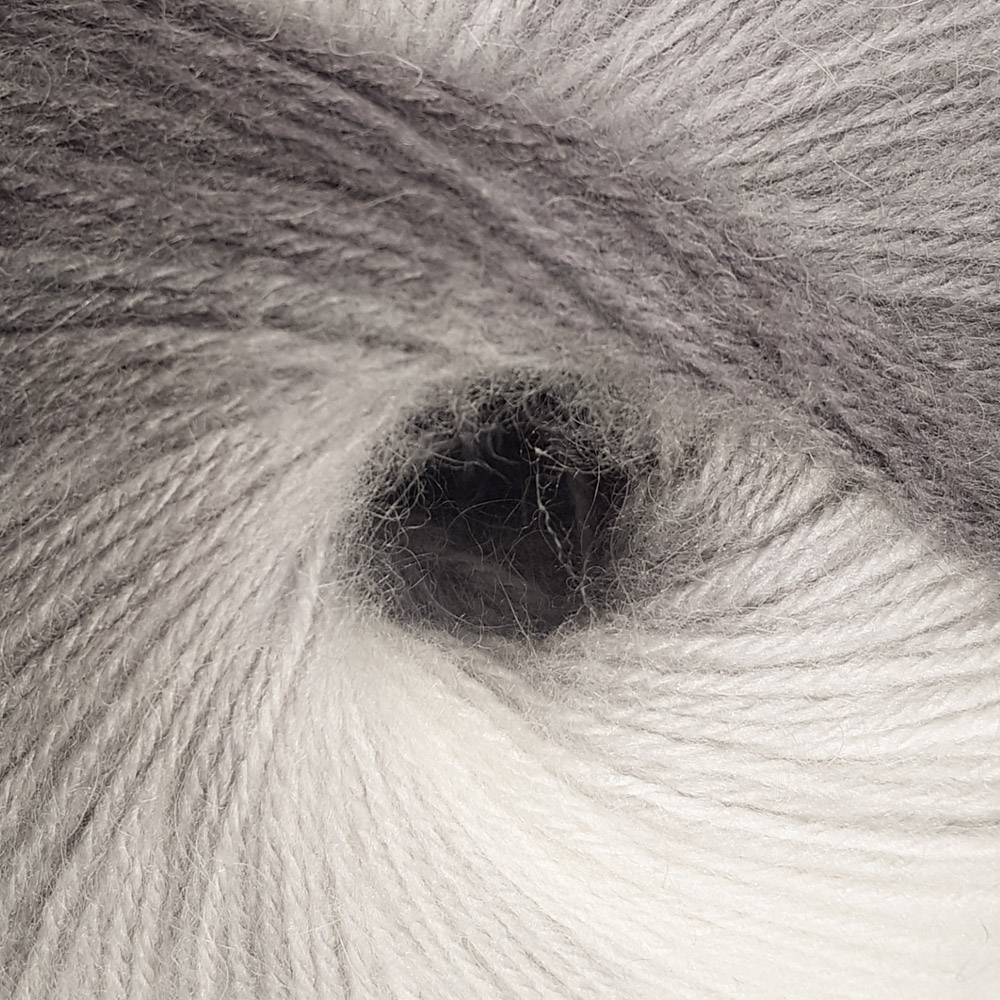
● Wool roving: This is the main material used in needle felting. Choose a variety of colors to add vibrancy to your creations.
● Felting needles: These special needles have barbs on them, allowing you to interlock the wool fibers while sculpting your designs. Be sure to have a few different sizes on hand for different project requirements.
● Foam pad: This serves as your work surface and provides a cushion for the felting needles. It prevents them from breaking and helps create a firm texture in your finished pieces.
Now that you have your materials and tools ready, it’s time to delve into the unique details of needle felting. The possibilities are endless with this craft. You can create anything from cute animals to intricate landscapes. Let your imagination run wild and bring your ideas to life with the art of needle felting.
Don’t miss out on the joy and satisfaction of needle felting. Join us at Horn Castle Hobby House and discover the endless possibilities this craft offers. Start creating your own unique designs and share them with fellow artists. Let your creativity flow and experience the magic of needle felting for yourself.
Felting needles: the sharp and pointy tools that turn a fluffy ball of wool into a voodoo doll with serious personality issues.
Felting Needles
Types of Needles: There are different kinds of felting needles – single-pointed, double-pointed and spiral. Each type has its own role.
Needle Size: Felting needles come in different sizes, indicated by gauge numbers. The higher the number, the finer and smaller the needle. It depends on the desired effect and thickness of the fibers.
Barbs for Felting: Barbs on felting needles play an essential role in matting and tangling the fibers. They bind the fibers together to create a solid structure.
Safety Precautions: Felting needles are sharp. Handle with caution to avoid pricks or punctures. Use a foam pad or finger protectors when felting.
| Needle Type | Size | Barbs |
| Single-Pointed | Gauge Numbers | Essential |
| Double-Pointed | Higher Numbers = Finer | Bind Fibers |
| Spiral | Desired Effect | Tangle Fibers |
In addition, felting needles can be bought separately or as part of a kit. They’ve been used for centuries in traditional crafts such as applique embroidery and tapestry making. Nowadays, they’re popular for their versatility and ability to produce intricate designs.
So when you start a felting project, make sure you have the right felting needles!
Wool Roving
Wool roving is a versatile and vibrant material used in many crafting projects. Its soft texture comes from shearing sheep. Let’s look into its properties and uses!
● It can be shaped and molded easily, making intricate designs easy.
● It comes in a variety of colors, giving creations depth and vibrancy.
● It’s perfect for needle felting, as its loose fibers interlock when compressed.
● It’s also great for spinning yarns, making cozy garments or tapestries.
● Weavers and knitters can use it to add texture and accents to fabric.
Wool roving has a long history in many cultures. Centuries ago, shepherds collected fleece from their flock and cleaned and carded it by hand. This process was needed to prepare the wool for spinning or felting. Whether you’re using traditional or modern techniques, wool roving is an invaluable material for unleashing your creativity.
Foam Pad
Foam pads are a versatile tool with many uses. They absorb impact, making them ideal for packaging items during shipping. Plus, they’re comfortable to sit and sleep on!
In the automotive industry, foam pads provide comfort in car seats. In the medical world, they add padding to mattresses, wheelchairs, and orthopedic devices. Sports teams rely on foam pads for safer playing surfaces. Construction companies use them as insulation materials. And in arts and crafts, they’re perfect for stamping and embossing designs.
Foam pads come in different thicknesses and densities. You can easily customize them by cutting into the desired shape and size. They also offer durability.
I once witnessed the power of foam pads during a camping trip. My friend put one under his sleeping bag. It gave him comfort and insulation against the cold ground. It was a small addition that made a huge difference in letting him sleep soundly in nature.
Step-by-step Process of Needle Felting
Needle felting is a fascinating craft that allows you to create intricate and detailed designs using nothing but a special needle and some wool. This step-by-step guide will walk you through the process of needle felting, from start to finish, so you can create your own unique masterpieces.
Before you begin needle felting, make sure you have all the necessary supplies. This includes a foam pad, felting needles, and of course, some wool or other felting fibers. The foam pad will serve as your work surface, while the felting needles will be used to shape and manipulate the fibers. Choose wool in a variety of colors to add depth and dimension to your design.
To begin needle felting, take a small amount of your chosen wool and roll it into a tight ball. Place this ball onto the foam pad and use the felting needle to repeatedly poke and stab the wool. As you do this, the fibers will begin to tangle and interlock, creating a solid base for your design. Continue shaping and compacting the wool until you are satisfied with the size and shape of your base.
Once your base is complete, it’s time to add some details and texture to your design. Take small amounts of colored wool and gently poke it into the base, using your felting needle to secure it in place. This is where your creativity can really shine, as you can create intricate patterns or realistic textures by layering different colors and types of wool.
To finish off your needle-felted creation, smooth out any rough edges or uneven surfaces by gently rubbing the piece between your hands. This will help to further blend the fibers together and give your design a polished look. You can also add any final embellishments, such as beads or embroidery, to really make your piece stand out.
- Step 1: Gather Your Supplies
- Step 2: Start Building Your Base
- Step 3: Add Details and Texture
- Step 4: Finishing Touches
Remember, needle felting is a process that takes time and practice to master. Don’t be discouraged if your first attempts don’t turn out exactly as you envisioned. With each project, you’ll learn new techniques and develop your own unique style. So grab your supplies, let your imagination run wild, and enjoy the art of needle felting!
Want to create a basic shape in needle felting? Just poke, poke, poke until you’ve formed something that vaguely resembles what you had in mind…or a mashed potato.
Creating a Basic Shape
Needle felting is a crafty way to make unique, detailed shapes using a barbed needle and wool fibers. Here’s a step-by-step process to help you create a basic shape with needle felting!
Gather a foam pad or mat, a barbed needle, and colorful wool fibers. Pick colors that look good together for a great result.
Roll a small amount of wool between your hands to form a ball. Place it on the foam pad and poke until it holds shape. Repeat until you have your desired base shape.
Put smaller pieces of wool onto the base shape. Poke them in with the needle. Layer and texture as you go. Shape them for your design.
Poke more with the needle. Concentrate on areas that need more definition. Smoothen any unevenness. Take your time for a polished look.
- Step 1: Gather Materials
- Step 2: Make a Base Shape
- Step 3: Add Details
- Step 4: Refine and Finish
Needle felting takes practice and patience. With time, you’ll find your own style and techniques. It’s also interesting to learn the history behind this art form. It dates back thousands of years when nomads used felted wool for practical and artistic purposes. This ancient technique has evolved and now lets artists express their creativity in amazing ways.
So, explore the fascinating world of needle felting! Master the process of creating a basic shape. Unleash your creative potential and let your imagination run wild!
Adding Details and Sculpting
Needle felting is an art. Through precise strokes, you can bring life and personality to your creation. Explore the process step-by-step!
- Secure a felt foundation with a felting needle. This will provide a stable base for detailing and sculpting.
- Carefully select coloured wool. Pierce it with the needle for a layered effect. Build up depth and texture.
- Use varying levels of pressure on the needle to create shapes and contours. Patience is key.
- Employ finer needles for delicate features like facial expressions or patterns. Capture every nuance.
Add finesse to your masterpiece! Imbue it with character and charm. Every detail tells a story, ready to be cherished.
Unleash creativity! Don’t let hesitation hold you back. Craft unique creations that captivate!
Blending Colors
For captivating designs, blending colors is a must for needle felting! Select complementary or analogous hues. Break off pieces, and poke the needle back and forth to intermingle the colors. Check your progress frequently.
Add texture variations for extra creativity. Experiment with layering thin wisps or using a multi-needle tool. Endless possibilities await!
Tips and Techniques for Needle Felting
Needle felting is an art form that allows you to create beautiful designs and sculptures using sharp, barbed needles. To help you perfect your needle felting skills, here are some tips and techniques that will take your creations to the next level.
- Start with the right supplies:
○ Gather a felting pad or foam to work on, as it provides a supportive surface for your needle.
○ Invest in high-quality felting needles of different gauges to achieve different effects.
○ Choose wool or other natural fibers suitable for needle felting, as they have the best texture and hold their shape well.
○ Consider using safety glasses to protect your eyes from any flying fibers or accidental needle pricks.
- Master the basic techniques:
○ Learn how to properly hold and use the felting needle. Hold the needle at a slight angle and use a quick, stabbing motion to penetrate the fibers.
○ Start with a small amount of wool and gradually build up the shape and size of your creation.
○ Use the needle to compact the fibers together, binding them and creating a solid structure.
○ Experiment with different needle angles and depths to achieve desired textures and details.
- Create depth and dimension:
○ To add depth and dimension to your needle felting project, layer different colors and shades of wool together.
○ Blend the colors seamlessly by poking the needle through multiple layers of wool, gently felting them together.
○ Build up layers to make certain areas stand out or recede, creating a more realistic effect.
○ Use fine details like embroidery thread or beads to enhance your design further.
- Take care of your needles:
○ Keep your felting needles clean by regularly brushing them with a stiff brush or using a bar of soap to remove any wool fibers stuck in the barbs.
○ Avoid bending or breaking your needles by working on a soft surface and gently rocking the needle back and forth instead of twisting it.
○ Store your needles in a protective case or container to prevent accidental injuries.
○ Consider replacing your felting needles periodically to ensure optimal performance.
Pro Tip: For creating intricate details or working on smaller projects, use a single felting needle instead of multiple needles. It offers better control and precision.
Implement these tips and techniques during your needle felting sessions at Horn Castle Hobby House, and you’ll be amazed at the professional-looking results you can achieve. Whether you’re a beginner or an advanced needle felter, continuous practice and exploration will help you develop your signature style and elevate your craft.
Stick to the right needle size or you might accidentally create a woolly Jaws-inspired masterpiece!
Using Different Needle Sizes
Needle size matters when it comes to felting. The smaller the needle, the finer the details it can produce. Bigger needles are great for larger areas. Experimenting with different sizes lets artists play with texture and depth.
Fine gauge needles let artists add intricate details and refine surfaces. These needles have lots of barbs per inch, perfect for sculpting small features. For initial felting and covering larger areas, a larger gauge needle with fewer barbs is best.
Wool fibers determine which gauge needle will work. Thick wool roving needs a large gauge needle to penetrate and shape.
Pro Tip: Start with a larger gauge needle to establish the form. Then switch to a finer one for detailing. This way you’ll have both structure and refined accents.
Creating Different Texture Effects
Needle felting is an art form that can give your projects a variety of textures and patterns. Secure wool fibres together with a felting needle using gentle, even strokes. Achieve a fluffy texture by teasing out the fibres and applying them loosely. To add depth, mix different colours and types of wool fibres. Also, experiment with techniques like twisting and varying pressure with the needle. Try layering fabric scraps or yarn for added dimension. Expand your creativity to discover new ways to incorporate texture effects. Practice and experiment to create masterpieces that will wow everyone! Unlock endless possibilities in needle felting and make unique, captivating works.
Common Mistakes to Avoid
Needle felting requires precision and skill. To ensure a successful project, here are five points to keep in mind:
● Using proper wool: Choose wool designed for needle felting – other types may not felt properly.
● Using a foam pad: This provides a surface for the needles to penetrate, preventing them from breaking.
● Needle technique: Insert the needle straight in and pull it out at an angle – don’t twist or bend.
● Felting levels: Too firm or too fragile? Practice to get the perfect balance.
● Safety first: Work on a stable surface, keep fingers away from needle tips, store needles safely.
Patience and practice are key. Enjoy creating something beautiful with your own hands! Here’s a story to emphasize the importance of avoiding common mistakes – a fellow crafter used improper wool, resulting in a lack of cohesion in the final piece.
So, remember to avoid mistakes, and you’ll have a successful and enjoyable needle felting experience. Happy crafting!
Safety Precautions
Needle felting can be an adventure! But be sure to keep safety your priority. Here are things to keep in mind:
● Handle needles with caution and don’t touch the tip.
● Wear protective gloves and eye protection.
● Keep the work area tidy and organized.
● Ventilate when using glue or adhesive.
Securely store needles and sharp items. This will help prevent any accidents, especially when kids or pets are around.
Did you know needle felting started in the 1980s? It was first seen in the US. Now it’s popular all over the world for its texture and versatility. (Source: The Art of Needle Felting by Woolbuddy)
So, craft away in safety at Horn Castle Hobby House! Have fun!
Inspiration and Project Ideas
Inspiration and Project Ideas are abundant when it comes to the fascinating craft of needle felting. From adorable animals to beautiful home decor, the possibilities are endless. Let’s explore some exciting ideas to get your creative juices flowing!
● Create whimsical woodland creatures like hedgehogs, rabbits, and owls. These adorable critters can be made in various poses and sizes, allowing you to customize your creations.
● Design and craft unique and personalized Christmas ornaments. Needle felted snowflakes, Santa Claus figures, and reindeer can add a touch of charm to your holiday decor.
● Experiment with creating realistic pet portraits. Capture the personality and essence of your furry friends using different colored wool and intricate needle felting techniques.
● Embellish plain cushions or pillows with stunning needle felted designs. Flowers, leaves, and intricate patterns can transform a simple piece of fabric into a work of art.
● Bring fairy tales to life by crafting characters like unicorns, fairies, and mermaids. These magical creations can be used as decorations or as props for storytelling.
● Explore the world of miniature needle felting and create charming accessories like tiny bags, shoes, and hats. These delicate pieces can be incorporated into dollhouse scenes or used as decorative pins.
For those seeking a unique touch, consider incorporating natural materials such as dried flowers, leaves, or small branches into your needle felting projects. These additions can add texture and an organic feel to your creations.
Now, let’s delve into some suggestions to enhance your needle felting journey.
- Experiment with different colors and shades of wool to give your creations depth and dimension. Mixing light and dark shades can create shadows and highlights, bringing your designs to life.
- Don’t limit yourself to just wool. Incorporate other materials like fabric scraps, thread, or beads to add extra details and personality to your creations.
- Explore different needle felting techniques, such as wet felting or using felting molds, to expand your skills and create unique textures and shapes.
- Take inspiration from nature or your surroundings. From beautiful landscapes to intriguing insects, the world around you can provide endless inspiration for your needle felting projects.
Remember, the key to successful needle felting is practice and patience. Allow yourself to experiment, make mistakes, and learn from them. With time, you’ll develop your own unique style and create stunning needle felted masterpieces. So, grab your felting needle and let your imagination run wild!
Prepare to be amazed as Horn Castle Hobby House takes needle felting to a whole new level, transforming fluffy wool into adorable creatures that are so lifelike, you’ll half expect them to start chatting about their favorite episodes of Animal Planet.
Needle Felted Animals
Needle felted animals are intricately crafted artworks. Wool fibers are sculpted with a barbed needle, which involves stabbing the wool repeatedly to interlock the fibers. Resulting in soft, lifelike creatures.
Each one is handmade, with endless possibilities for color and species. Artists detail their animal with fur texture, facial expressions, and realistic features. These creations come in various sizes. From miniatures to larger sculptures, they can be used as toys, collectibles, or decorative items.
What makes needle felting so remarkable is the level of artistry involved. Creating lifelike eyes and precise shapes requires skill and creativity. There’s even an instance of an artist recreated an entire zoo’s worth of animals. All with wool and patience! This feat won her acclaim and motivated others to take up the craft.
This world is captivating, full of imagination and artistic expression! Needle felted animals bring joy and beauty into our lives. So why not pick up some wool and a barbed needle? You might find a new passion inside you!
Needle Felted Jewelry
Mia, a young artist, crafted unique pieces of Needle Felted Jewelry, captivating the attention of many. She took inspiration from nature and turned her passion into a business. Her creations were sold online and displayed in exhibitions.
The craftsmanship of the Needle Felted Jewelry offers the wearer an expression of individuality with custom designs and colors. Plus, it’s lightweight and comfortable to wear!
Each piece is beautifully handcrafted, with no two being exactly alike. Wool roving is the primary material used, which is sustainable and eco-friendly. Embellishments such as beads, gemstones, or silk threads can also be incorporated to add depth and texture.
By wearing Needle Felted Jewelry, you can express yourself and show off your unique personality and style!
Conclusion
Let’s dive into the final thoughts on this captivating craft – needle felting!
It is remarkable, as with a barbed needle and wool, intricate shapes and designs are created with skill.
This art form allows endless creativity and is enjoyed by both novices and experienced artists.
Plus, it can be therapeutic – the rhythmic motion of stabbing the needle is calming and soothing.
It also provides a sense of accomplishment as objects come to life under your fingertips.
We learn its origins in ancient times, when it was used for clothing and decorative items.
Today, it has become a beloved hobby that expresses creativity in unique ways.
As we finish our journey at Horn Castle Hobby House, we have a new appreciation for needle felting.
Whether you are looking for a new hobby or just curious, exploring needle felting will ignite your imagination and bring joy and creativity!
Resources and References
Horn Castle Hobby House has a cornucopia of resources and references for crafters. They offer wool in many colors and textures, felting needles, foam pads, and books containing step-by-step instructions and creative ideas. Plus, the staff is always ready to help you find the perfect materials for your project. Whether you’re just starting out or an experienced needle felter, they have something for everyone.
The store also has a special sense of community. Crafters from all over gather at workshops held at the store. Here, they can share their passion, exchange ideas, and learn from one another.
Don’t miss out on this unique opportunity! Horn Castle Hobby House has everything you need to unleash your creativity and explore new possibilities. Join the buzzing community of crafters and let your imagination run wild! Visit the store today!
Frequently Asked Questions
FAQ 1:
Question: What is needle felting?
Answer: Needle felting is a crafting technique that involves using a barbed needle to interlock and sculpt wool fibers into desired shapes and designs.
FAQ 2:
Question: Is needle felting suitable for beginners?
Answer: Yes, needle felting can be enjoyed by beginners as well as experienced crafters. It just requires patience and practice to master the technique.
FAQ 3:
Question: What materials are needed for needle felting?
Answer: To needle felt, you will need wool roving or felting wool, felting needles, a felting mat, and optional embellishments like glass eyes or wire armatures for added details.
FAQ 4:
Question: Can I create any design through needle felting?
Answer: Needle felting allows for endless creative possibilities. You can create sculptures, animals, ornaments, and even flat designs like landscapes or portraits.
FAQ 5:
Question: Is needle felting a time-consuming craft?
Answer: The time required for needle felting depends on the complexity and size of your project. It can range from a few hours for small creations to several days for intricate designs.
FAQ 6:
Question: Can I learn needle felting at Horn Castle Hobby House?
Answer: Yes! At Horn Castle Hobby House, we offer needle felting classes and workshops suitable for beginners and advanced crafters. You can learn various techniques and create beautiful projects under expert guidance.
 Lots of general craft requirements such as felt,beads,sequins and polystyrene shapes. Advice and help given freely.